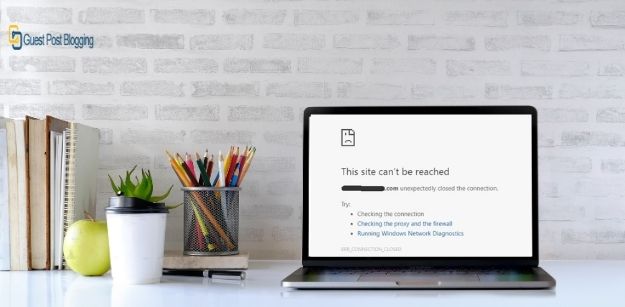
Web browsers have always been an important part of accessing and browsing the Internet. Google Chrome is one of the most popular and widely used browsers and its user base continues to expand. Prior to its release, browsers such as Internet Explorer and Firefox were mainly used and had a lot of fans. They had some great features that were extremely useful at the time.
However, as technology advanced, the current functions could not meet the needs of the people. With the release of Chrome in 2008, it completely changed the dynamics of the web browser platform system as, with its high-speed performance and stable nature, it quickly caught people’s attention and overtook its predecessors.


Chrome itself is not flawless and tends to have its own problems. One particular problem that is constantly growing is the timeout error, which will also be the topic of our discussion in this article where we look at various solutions as to how it is possible to fix the timeout error in Chrome.
Error solutions
The timeout error usually occurs due to a lack of communication between your browser and the website you are trying to access. This is because either your browser cannot receive the data, or the time it took has passed the session timeout and was unable to establish a connection.
It is often enough to purchase a proxy server proxy-seller.com and specify it in the browser settings.
In general, there are several ways to solve this problem. Let’s now explore all of them.
1) Clearing browsing data from Chrome
Often times, the reason your connection may be timed out is because the cookies or caches are corrupted and create problems when establishing a connection between your browser and the website server. Therefore, a good option is to delete browsing data from your Google Chrome. To do this, open your Google Chrome, then click on the three vertical dots, go to the More Tools option, and finally select the Clear Browsing Data option. You can also open this with the keyboard shortcut Ctrl + Shift + Delete.
A window will then open with several options to choose from, in particular the time period from which you want to start deleting browsing data. The Basic section will be enough to fix this error; however, if there are any specific site settings that you think are causing problems, you can select them in the “Advanced” section.
Clear browsing data.
“Site settings” on the “Advanced” tab should be marked as well.
Restart your Chrome web browser and check if the web page loads.
2) Disable Firewall
Another reason you might get a timeout error in Chrome might be because your firewall is trying to block the connection between your browser and the server. Firewalls are security features installed to protect your systems and block suspicious web pages. However, sometimes this leads to the blocking of safe pages. On Windows, you have to test this through Windows Firewall. First, search for Firewall in the search menu and open it.
Then click Turn Windows Firewall on or off.
You need to click on the Disable Windows Firewall option in your private network location settings here.
Then click OK and now you will see the following on the main page of your firewall.
Now check again if your Chrome is loading the website or not.
3) Editing the Windows hosts file
Another alternative to fixing the timeout error is to check the Windows hosts file for no access to website names. They may have been blocked by the hosts file. To edit the host file, open My Computer and then navigate to the following directory: C: \ Windows \ System32 \ Drivers \ Etc. Here you will see a file named hosts. Open the file by right-clicking it and using notepad or similar software to open it. Now make sure no website names are mentioned after the localhost section.
If you see the names, delete them, save the host file and open Chrome again and check if it loads your webpage.
4) Reset and flush DNS
Similar to deleting browsing data, you can also try clearing your DNS cache, as the website you may be trying to access may not allow a connection to your IP address. To do this, open a terminal by writing a command line in the search bar and opening a command line program.
Then enter the following commands to clear the DNS cache and update your IP address:
$ ipconfig / flushdns
$ ipconfig / registerdns
$ ipconfig / release
$ ipconfig / renew
After that, run the following command to reset it:
$ netsh winsock reset
Restart your computer and try loading the webpage in Chrome again.
5) Configuring local network parameters
Another alternative – look into the settings of your local network and configure several parameters. To do this, open Control Panel, click “Network and Internet” and then select “Internet Options”.
After selecting this, a window will open in which click the connections tab to open it.
Then click the LAN settings button located in the LAN section.
Here, uncheck “Use a proxy server” under “Proxy server” and click “OK”.
After configuring your local network settings, restart your system, and after restarting, open Chrome and make sure it loads your webpage.
Chrome is a great web browser that has greatly simplified the process of accessing the Internet. But, like all inventions, it is not without flaws and may have some errors. Therefore, it is important to know how to fix these errors in a timely manner.


